

Photo booths are incredibly popular, and with good reason: they’re a fun addition to any event. Any time you have a group of people people dressed up and enjoying themselves is a good opportunity to take some great photos.
While hiring a professional photo booth operator can be an easy and low-stress way to add a booth to your event, it’s not always within your budget and often does not give you the results you want. With traditional photo booths, image quality can be low. And with a photographer hired to take photo booth style headshots, your guests may feel less comfortable being themselves, usually can’t see the images right away, and typically can’t share them via social media on the spot. However, if you have access to a DSLR camera and an android device, you can solve these issues, save yourself a lot of money, and have a great experience with SLR Booth for Android which lets you create the ultimate DIY photo booth.
What you need:
- The SLR Booth Pro App
- Canon or Nikon DSLR camera with Live View capability
- Android phone, tablet, set-top-box or all-in-one PC
- Something to hold your camera and device
- A flash unit (optional)
- A wifi photo printer (optional)
- External input device such as a remote, or USB foot pedal (optional)
The SLR Booth App
Available on the Google Play Store
Camera:

SLR Booth should work with any recent Canon or Nikon camera with live-view capability, but to be sure check the official supported cameras list
Android Device:
SLR Booth will run on any device running Android 4 or above with a USB port. Most devices have a micro-USB port, so you will likely need a USB on-the-go (OTG) adapter to plug your camera’s USB cable in. Each of the following types of devices can work, but will have pros and cons.
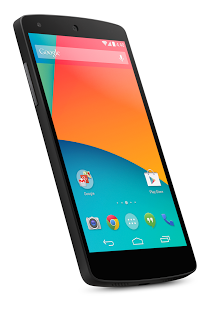
Phone
|
 |
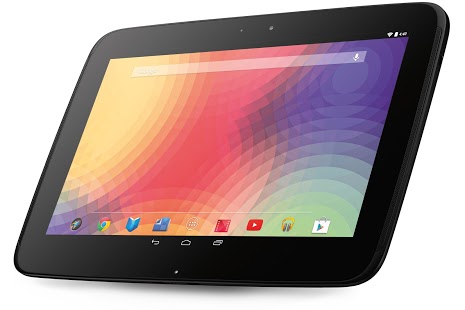
Tablet
|
 |
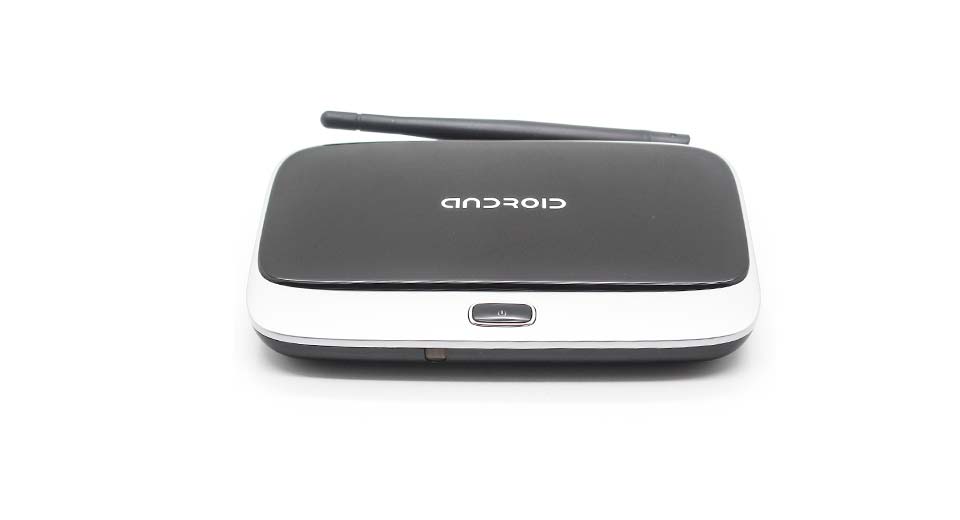
Set-Top box
|
 |
All-in-one / Smart Monitor (ie, AOC mySmart, Acer DA220HQL)
|
 |
Mounting:
For the best photo booth setup, you’ll want your camera and screen up around eye-level, and as close together as possible – people tend to look at the screen rather than the camera. There are a variety of ways to mount your camera, device and flash, check out suggestions for mounting options based on your device
Printer:
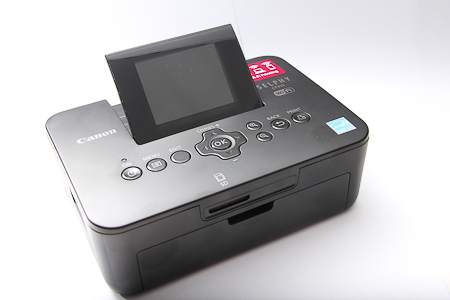
For a true photo booth experience, you’ll want to be able to print out the photos as they’re taken. The SLR Booth app comes loaded with templates for single 4 x 6 prints, a group of four photos in a 2 x 2 layout, and the popular filmstrip option.
The SLR Booth app will work directly with any photo printer that can talk the IPP protocol. One of the best options is a Canon Selphy wifi printer – these portable Dye-Sublimation printers will spit out a 4×6 photo in about a minute, and the prints are print-lab quality, dry and ready to handle right away.
Regular USB printers can also be made to work directly with SLR Booth by sharing them from a Macintosh or Linux computer.
Flash:
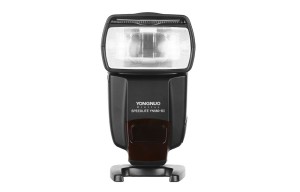
To get the best photos, you’ll need an external flash. A basic manual hotshoe flash such as the Yongnuo YN-560 is an inexpensive option with the same power as a flagship Canon or Nikon TTL flash, but around 1/10 the price. The important features are manual settings (for consistent brightness shot after shot), and tilt & rotate to allow you to bounce the light off of a nearby wall or ceiling for better quality.
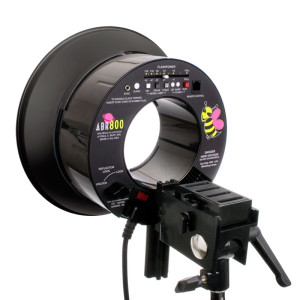
The downside to hotshoe flashes is that they take batteries, which tend to run out when it’s least convenient. The other option is to use a plug-in studio flash. The benefits to the plug-in units is that they don’t require a battery, and can produce much more light than a hotshoe flash. The downside is that they typically need to be mounted separately from your camera. One exception is a ring flash like the Paul C Buff ABR800 – the camera is mounted within the flash, so the whole kit and caboodle can be mounted on one stand.
Trigger:
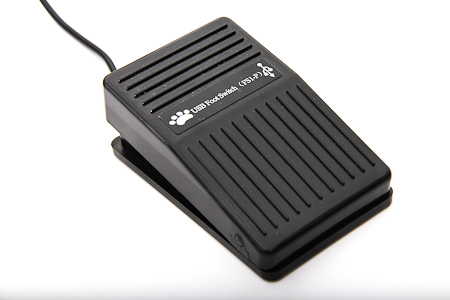
If you are using a touchscreen device such as a phone, tablet, or all-in-one, then you don’t actually need a trigger – the app can be operated from the touchscreen. But if you’re using an external monitor, or your subjects will be far enough away from the camera that they’ll have to walk up and back, you might want another trigger option. One option is to use a USB foot pedal – they’re cheap, stay out of the pictures, and simple to operate. Make sure you get one that is programmable, and set it to the spacebar key. These work especially well when your camera is set to manual focus, as you can guarantee that your subjects will be standing in the right place when they hit the trigger.
 |
 |
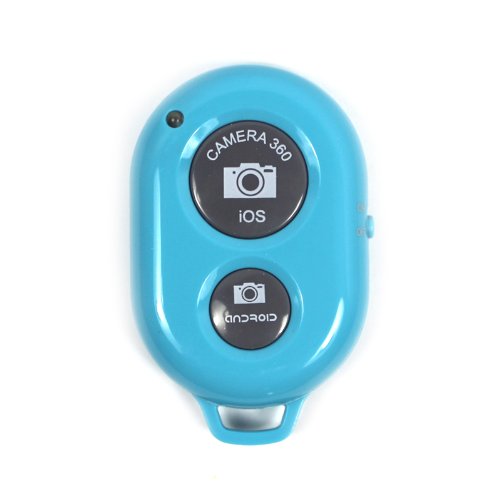
Another option is to use an android photo remote trigger. These are also inexpensive and easy to operate, and have the bonus of no cords to trip over. The downsides are that they require batteries, are easy to misplace, and might appear in your photos.
Is there a way to use this app with a Sony a7 dslr?
Just Canon and Nikon cameras are supported at the moment.